🔥 CYBER MONDAY 24H: 60% off all prices on the site! Only until midnight. Use code CYBERMONDAY25 👉🏼


Padova, PD, Italia
Residential - Apartment
Apartment Renovation – Design Overview
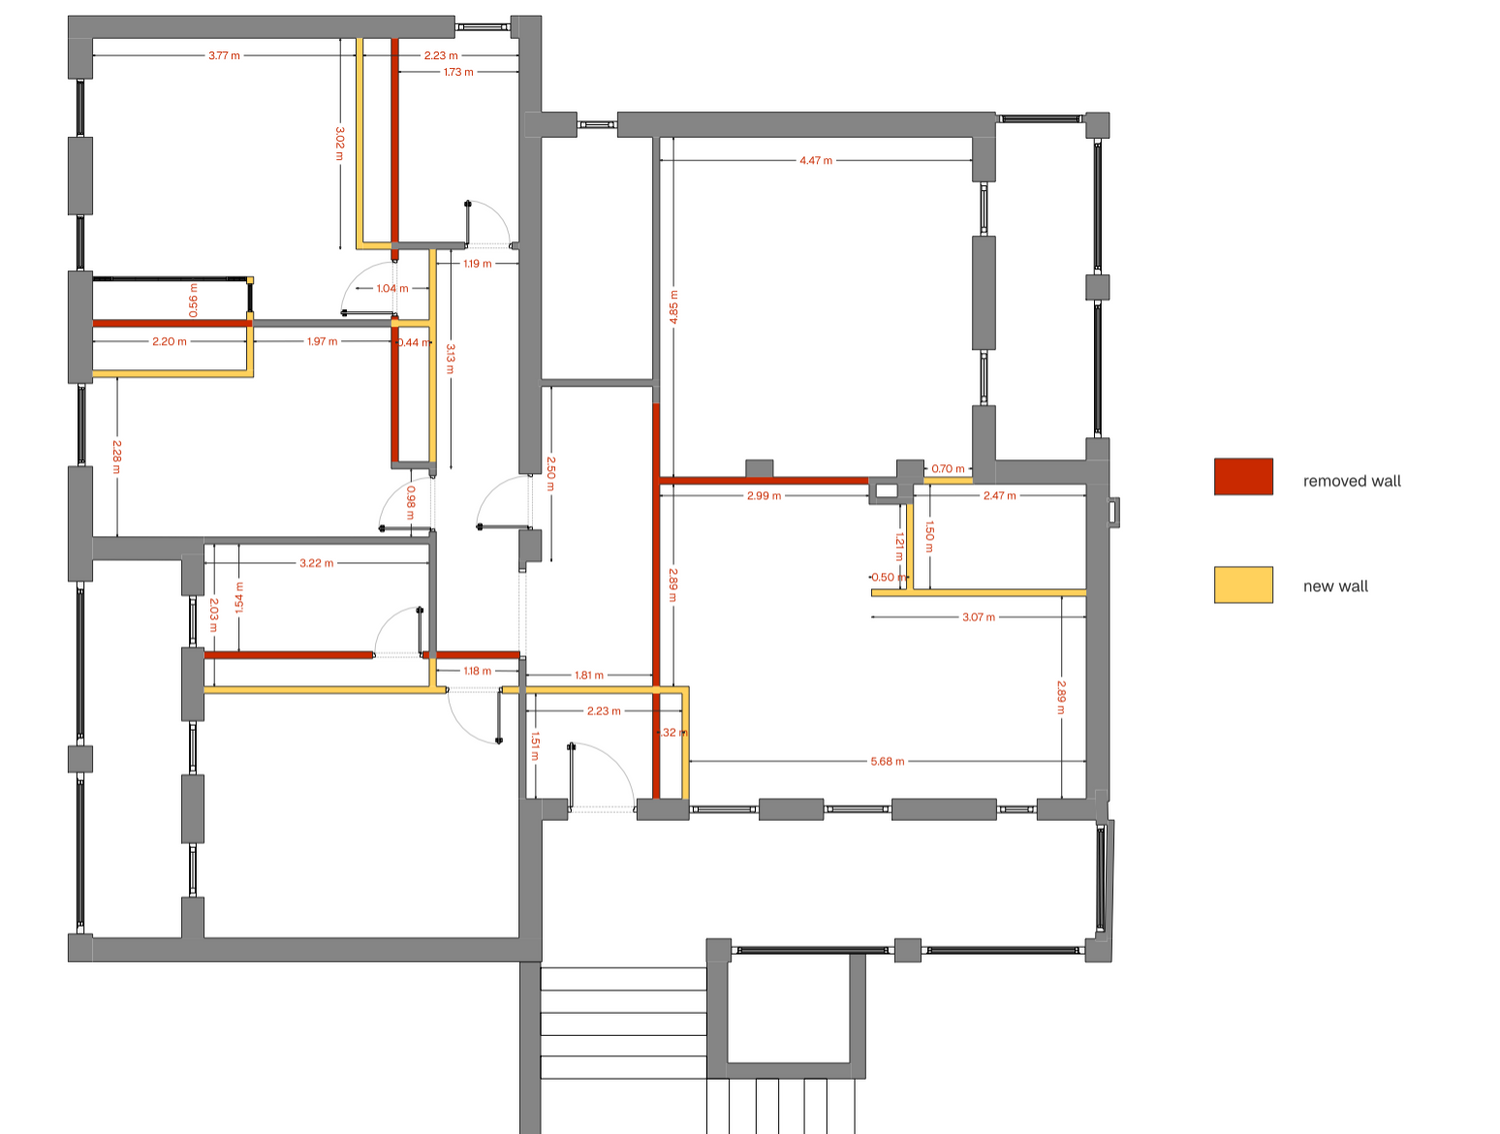
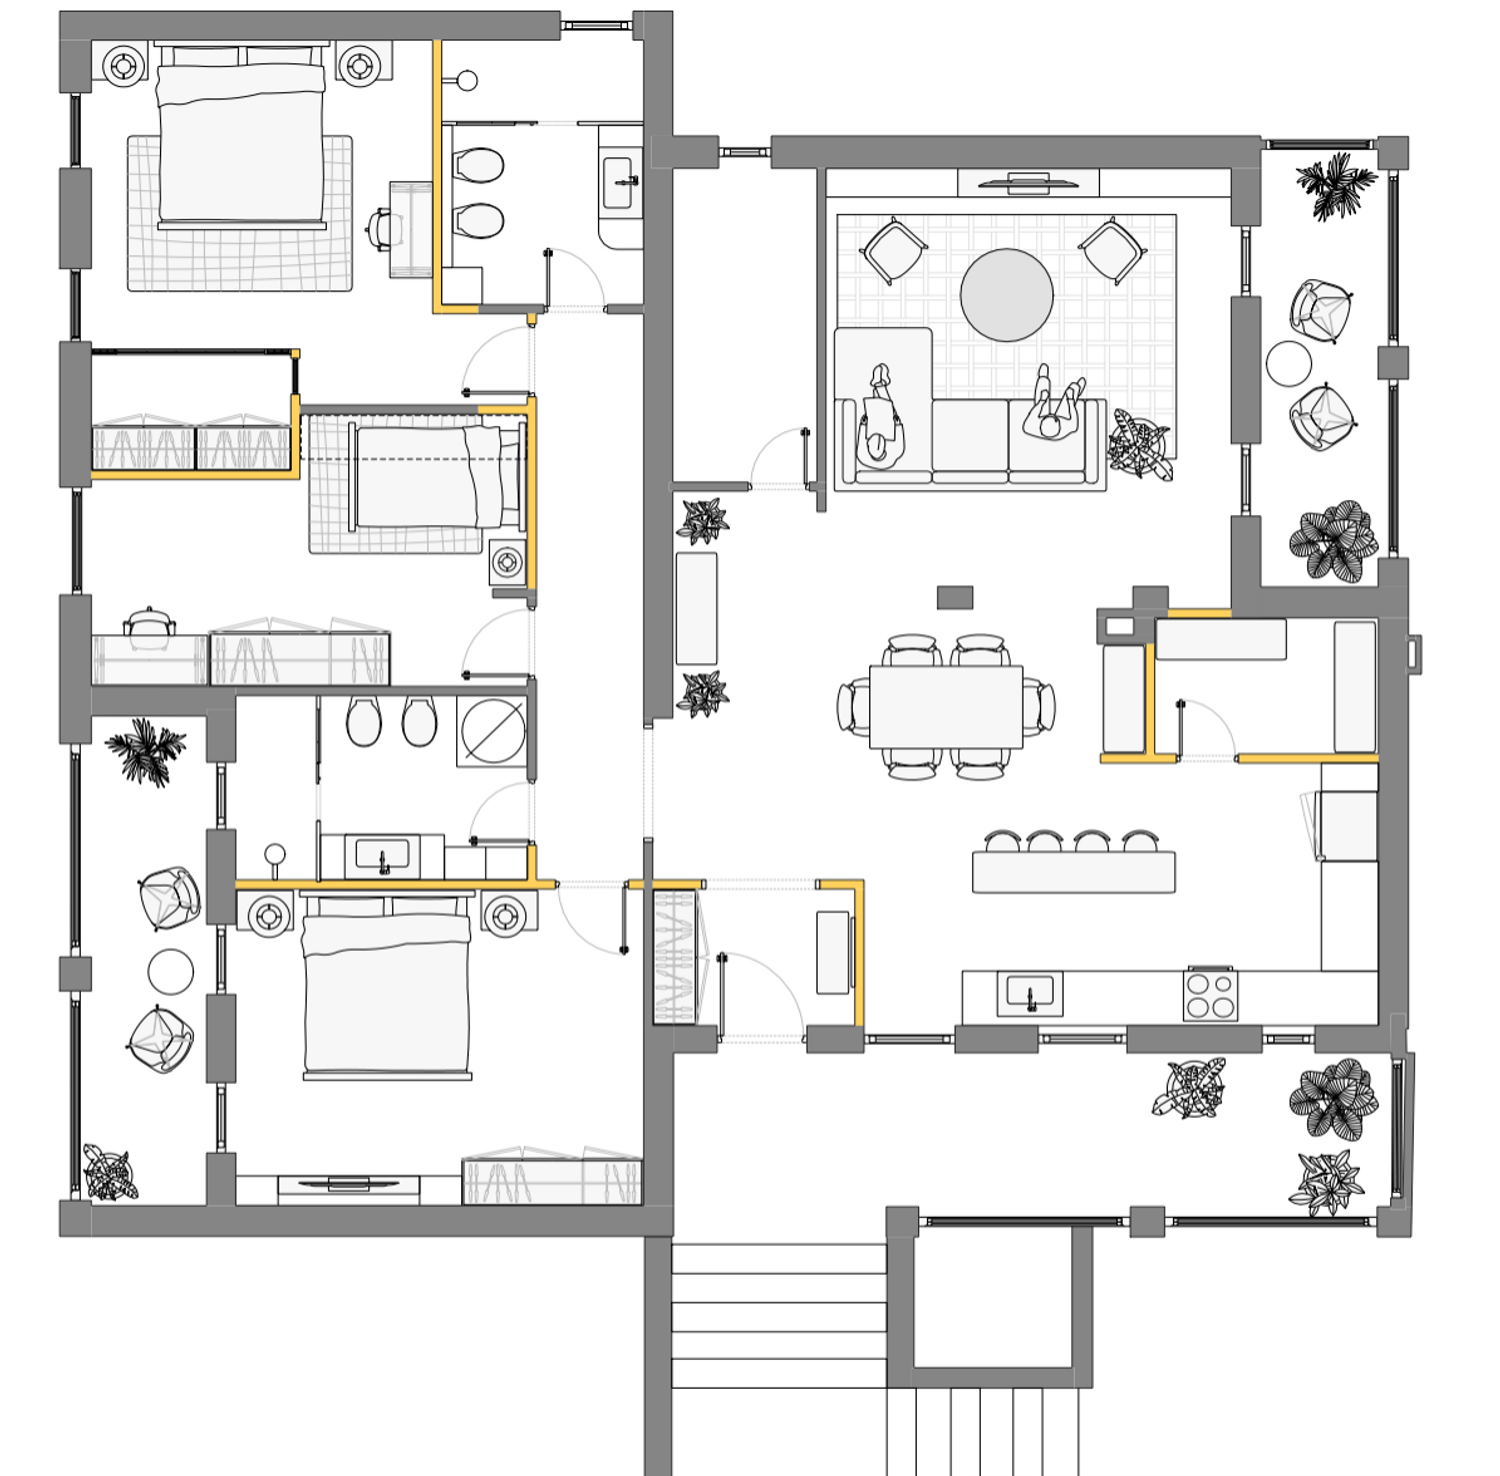
The main goal of this renovation was to improve the apartment’s functionality, maximize storage, and create a more open and spacious living area while keeping structural and plumbing changes to a minimum. I tried to preserve the existing locations of the kitchen and bathrooms to avoid unnecessary plumbing work and additional renovation costs.
1. Bathrooms
Bathroom 1 – Improved Layout and Functionality
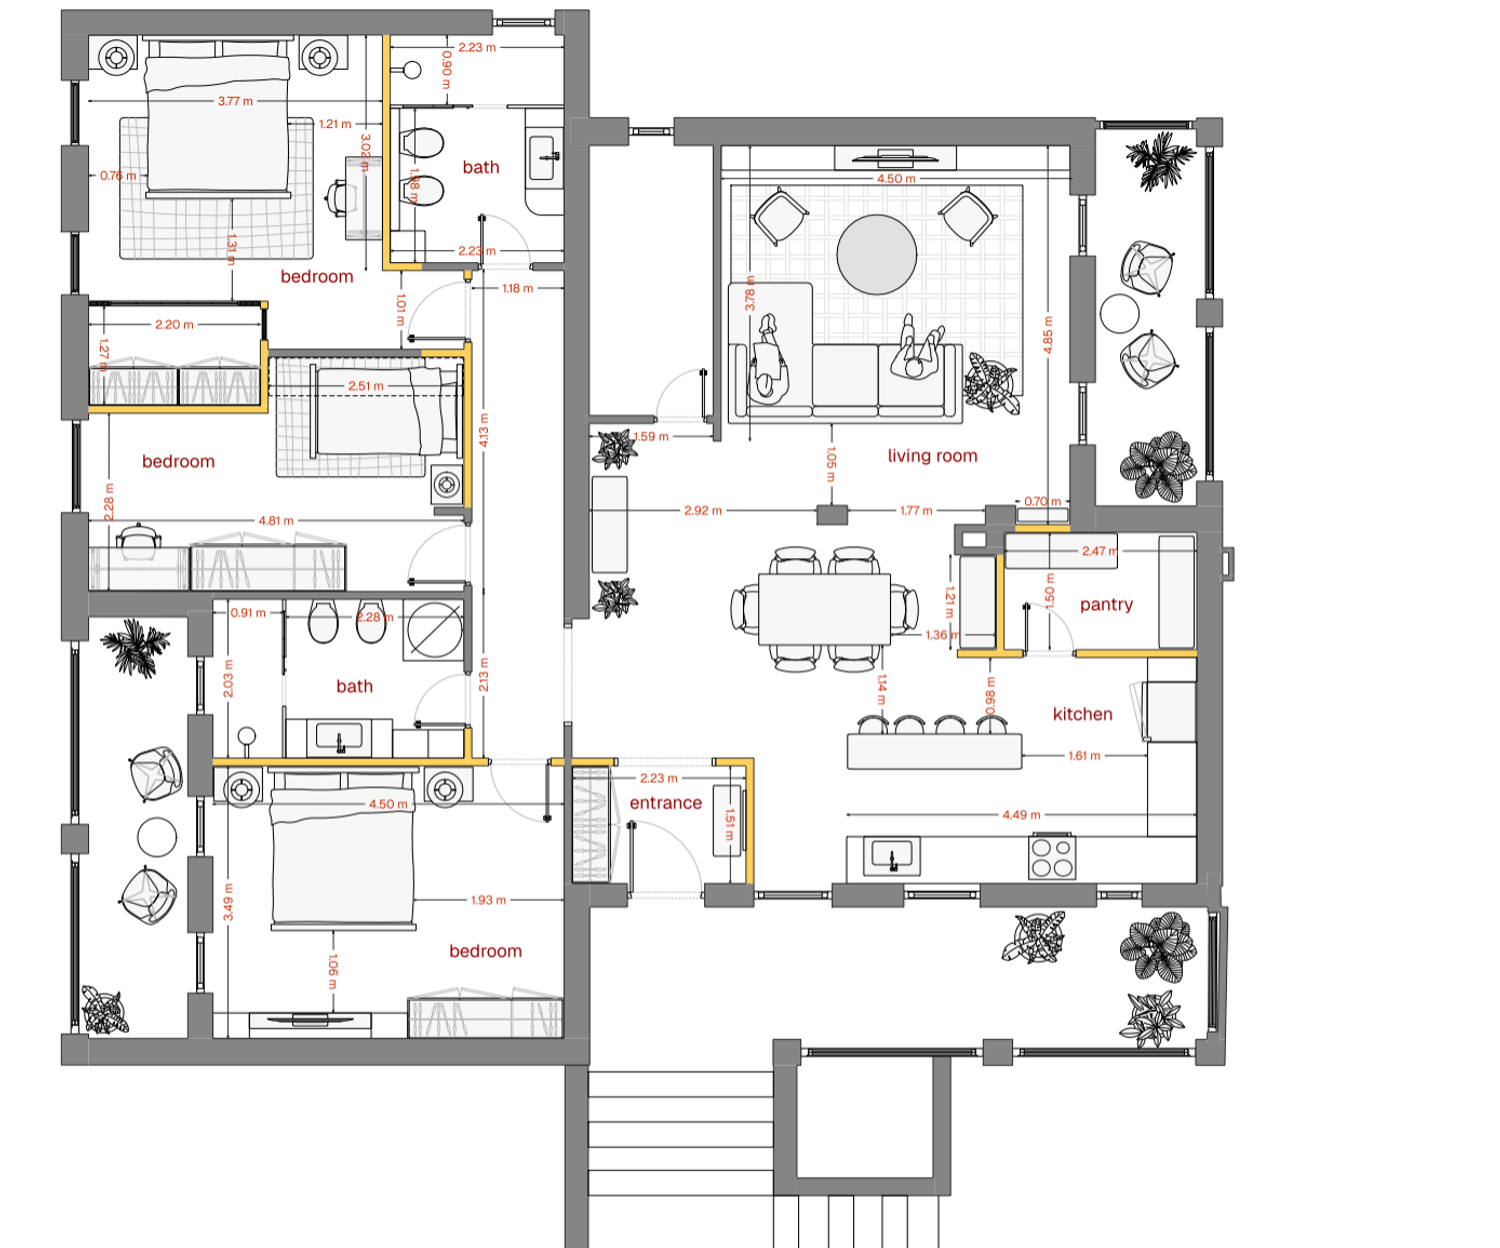
I slightly enlarged the bathroom to provide more comfortable use and better functionality. The proposed layout includes:
A walk-in shower.
A vanity unit with a sink and additional storage.
A storage wardrobe to maximize the available space.
A separate toilet and bidet.
Bathroom 2 – Integrated Laundry and Storage Solution
In the second bathroom, I designed a built-in wardrobe to accommodate the washing machine and keep it hidden from view. The upper part of the wardrobe can be used to store detergents, cleaning supplies, towels, and other household essentials. This solution provides a neat, organized appearance while addressing your need for additional storage.
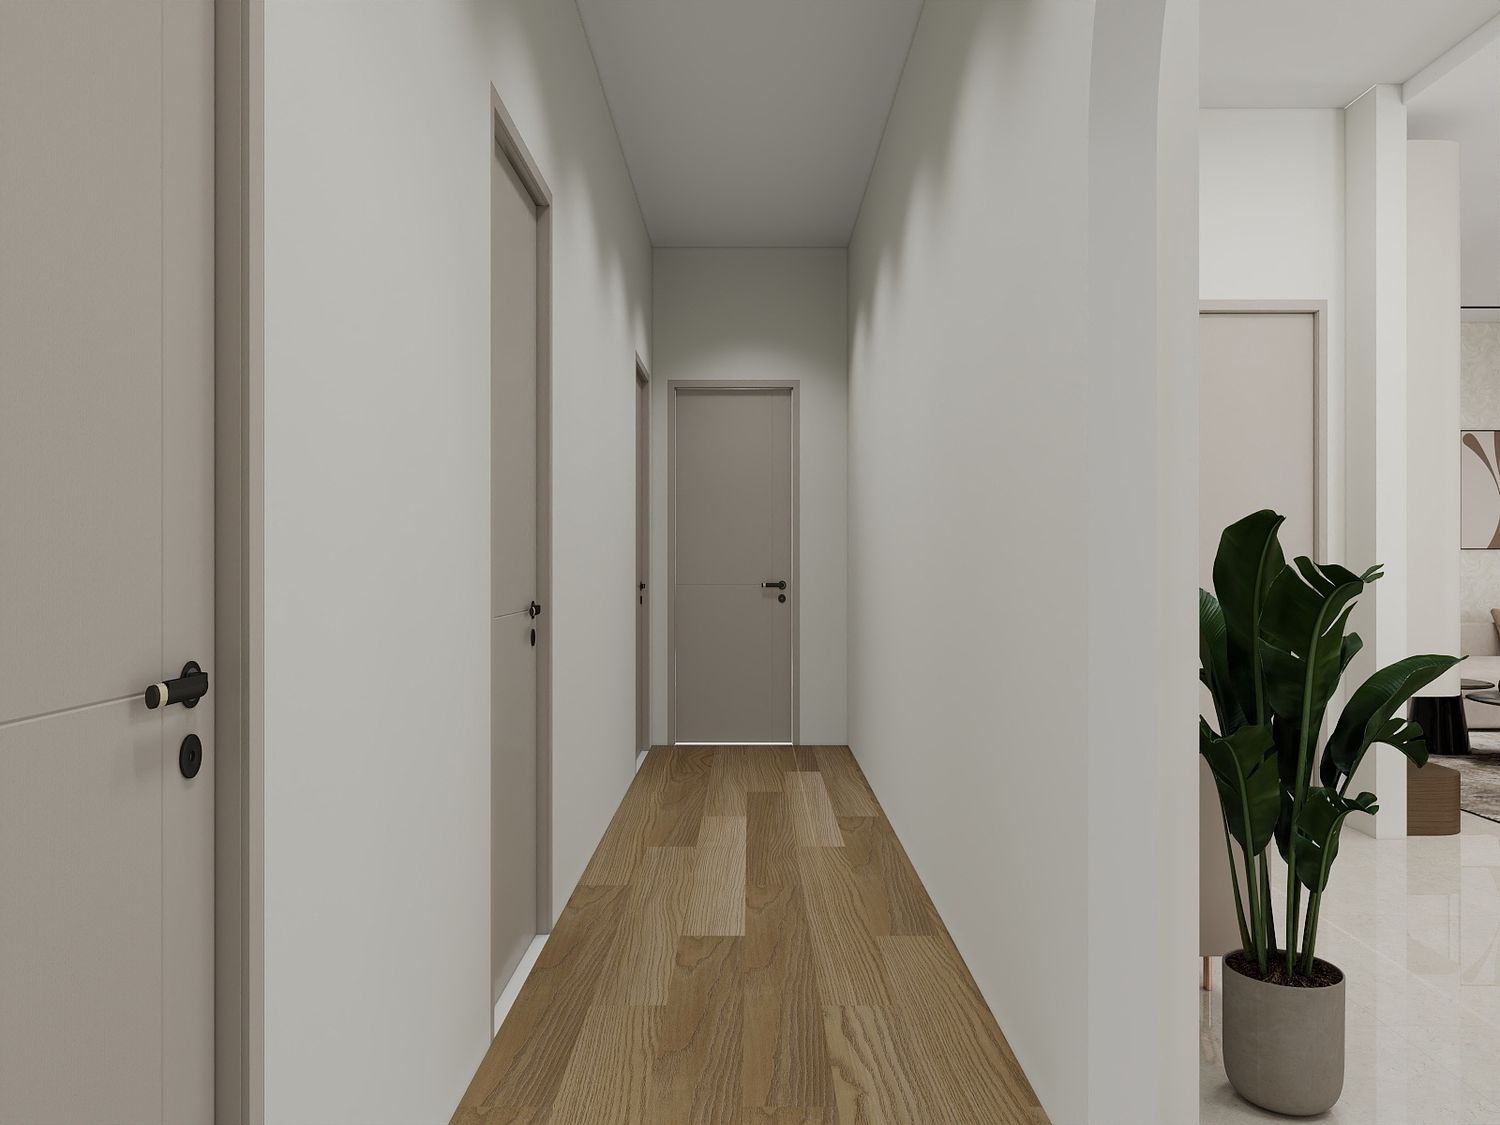
2. Entrance and Hallway
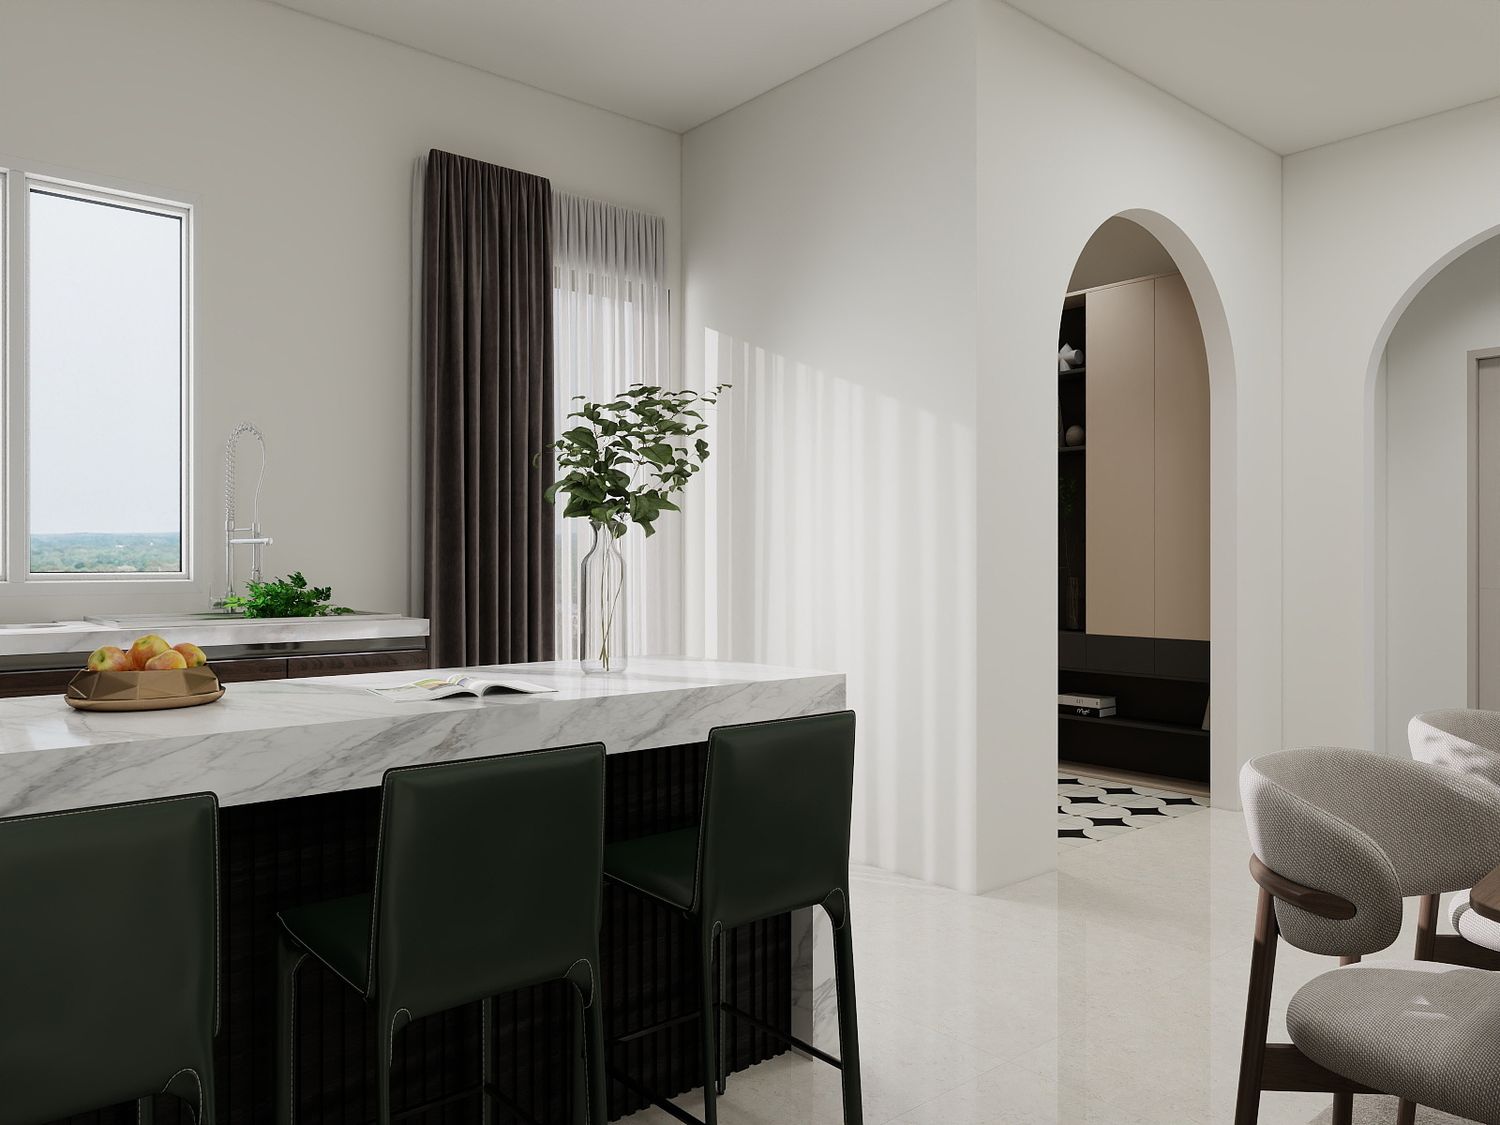
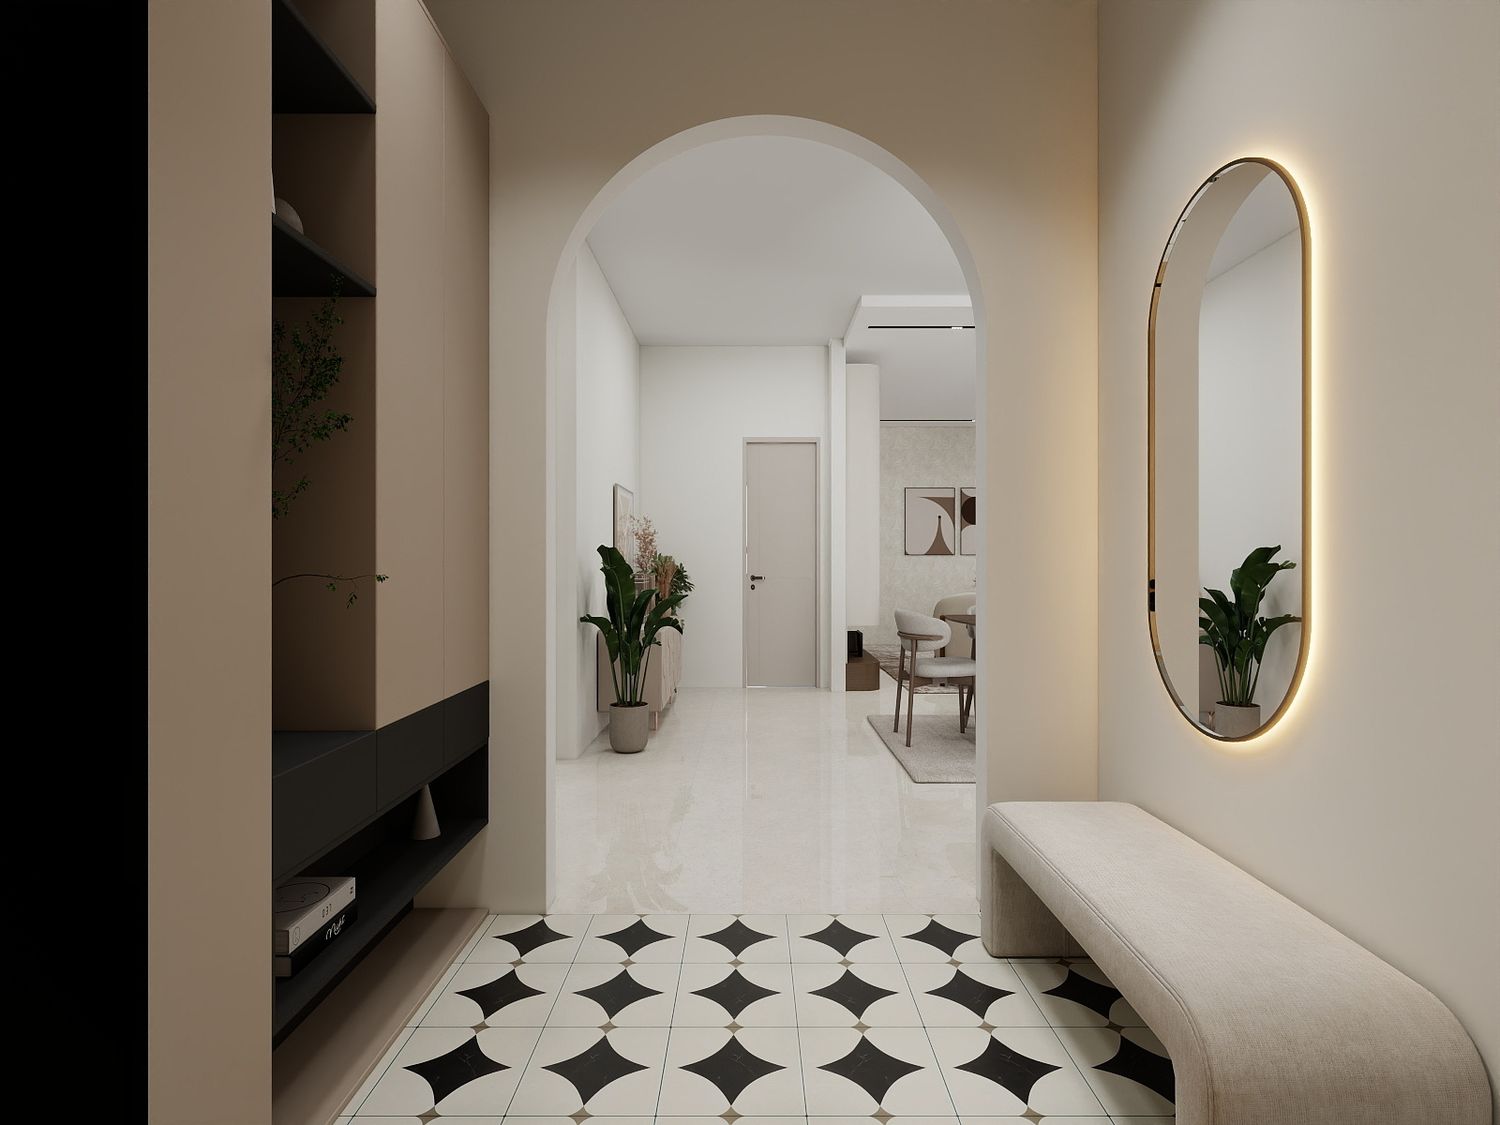
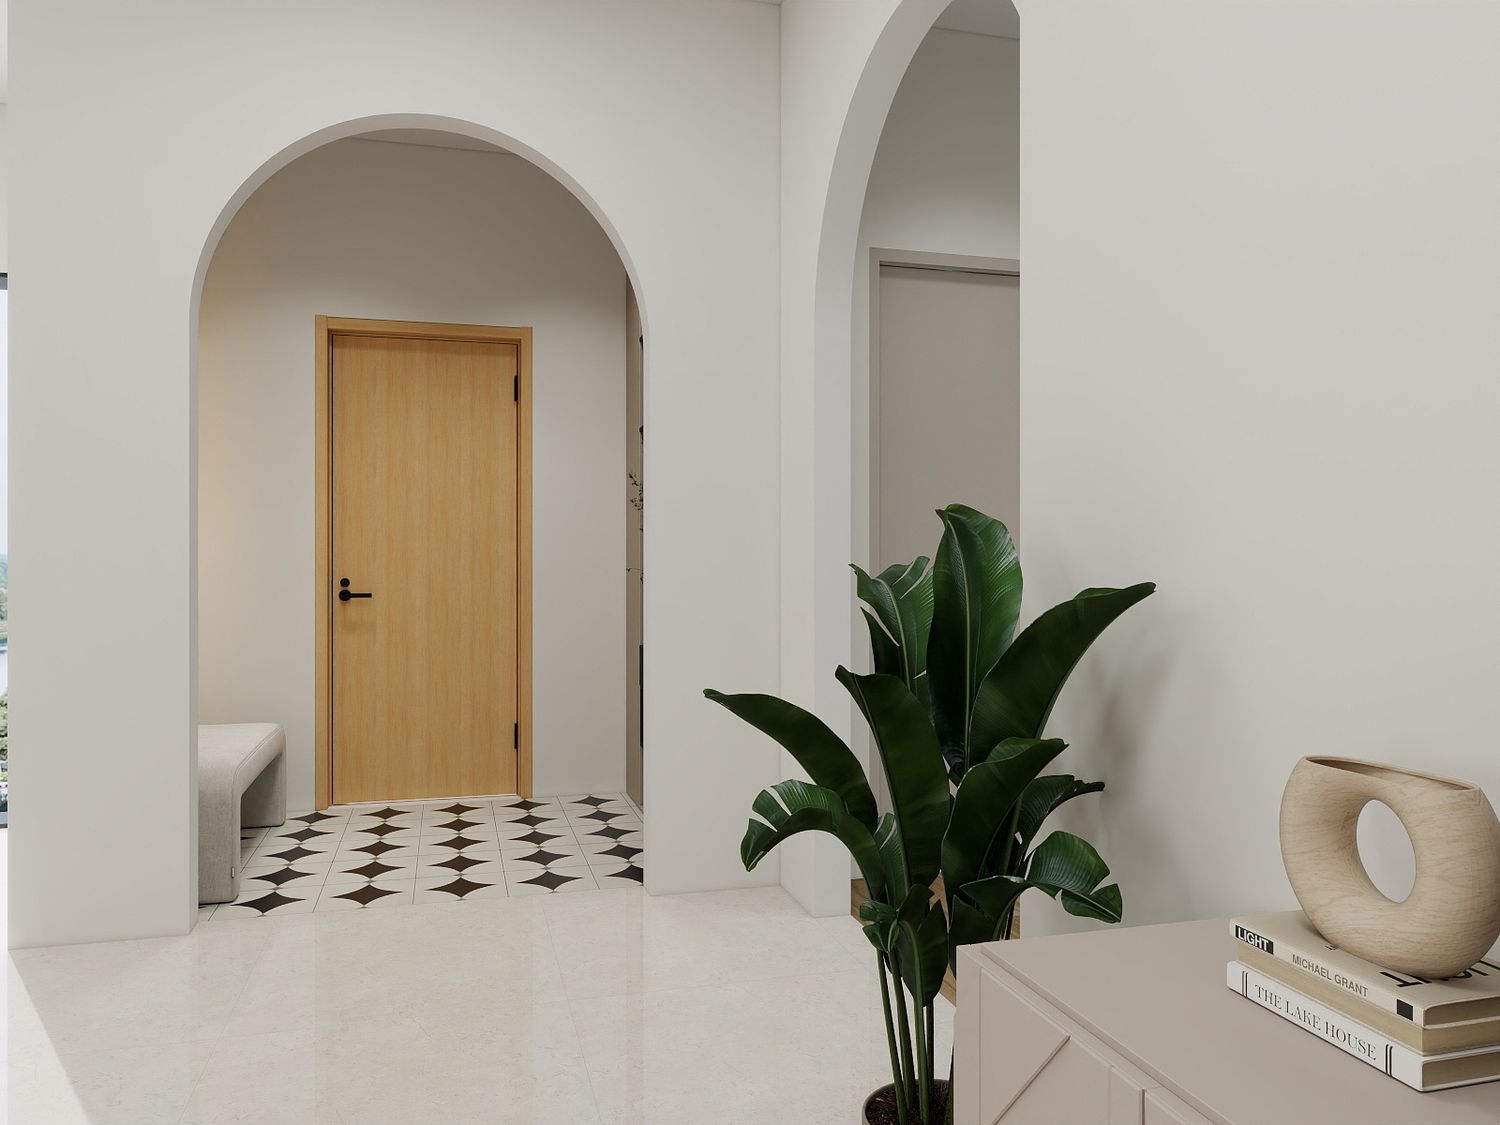
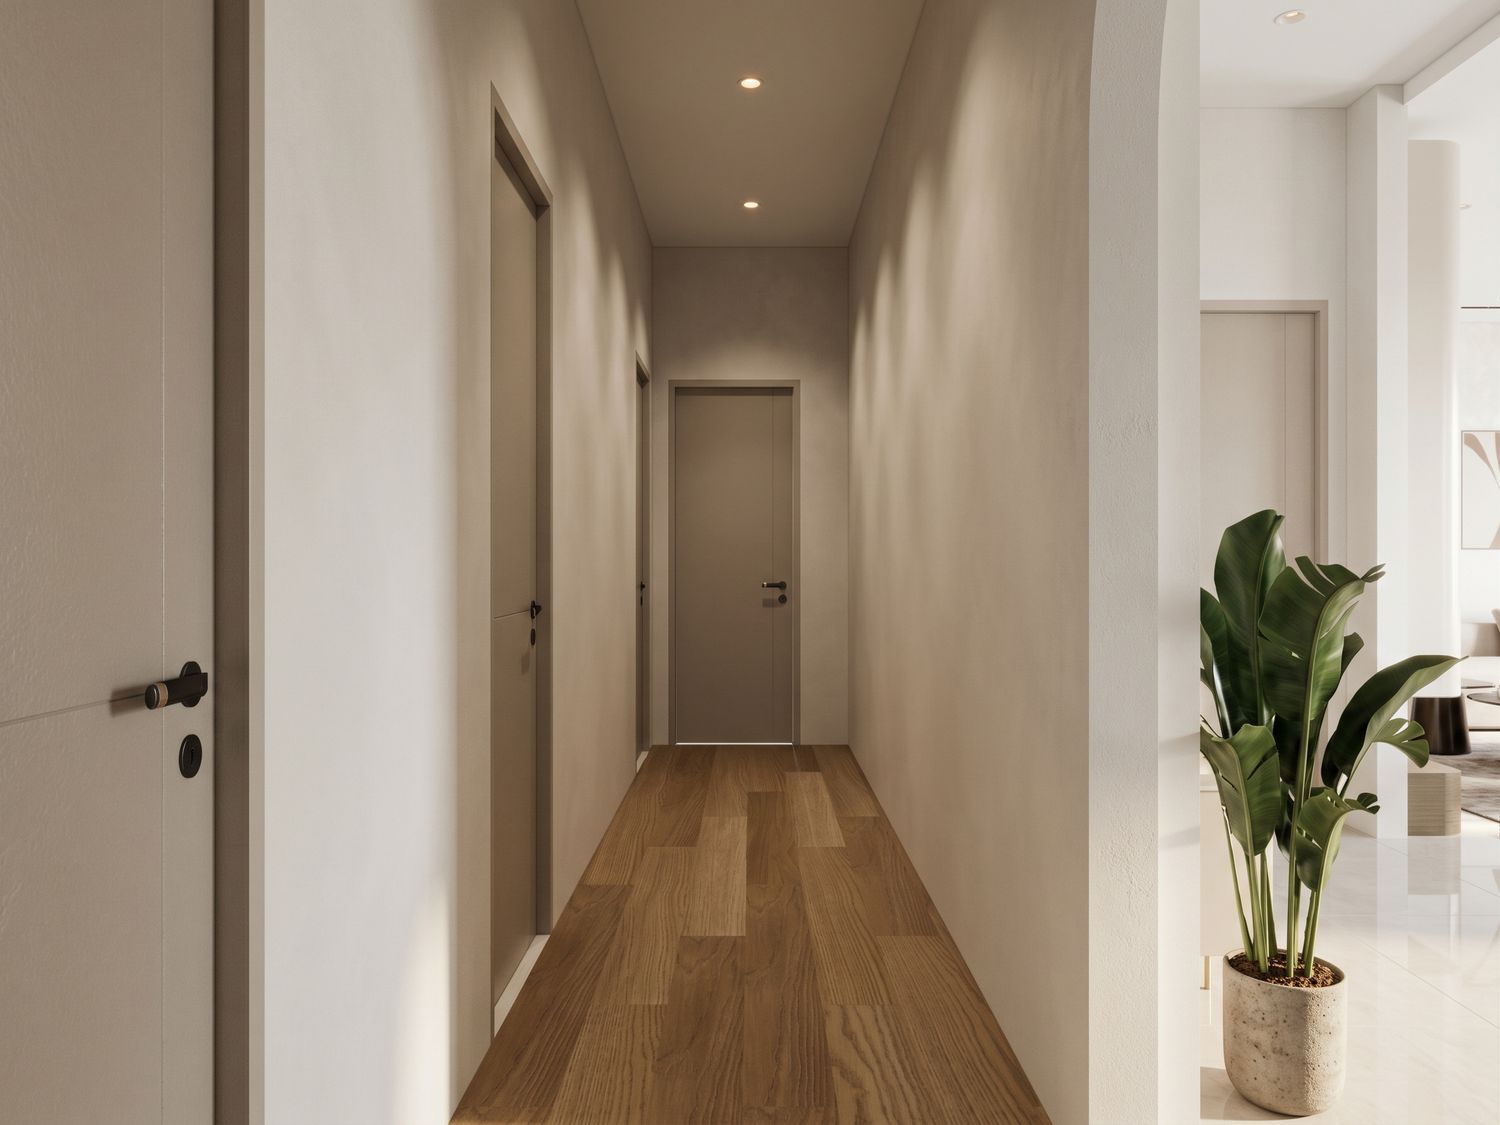
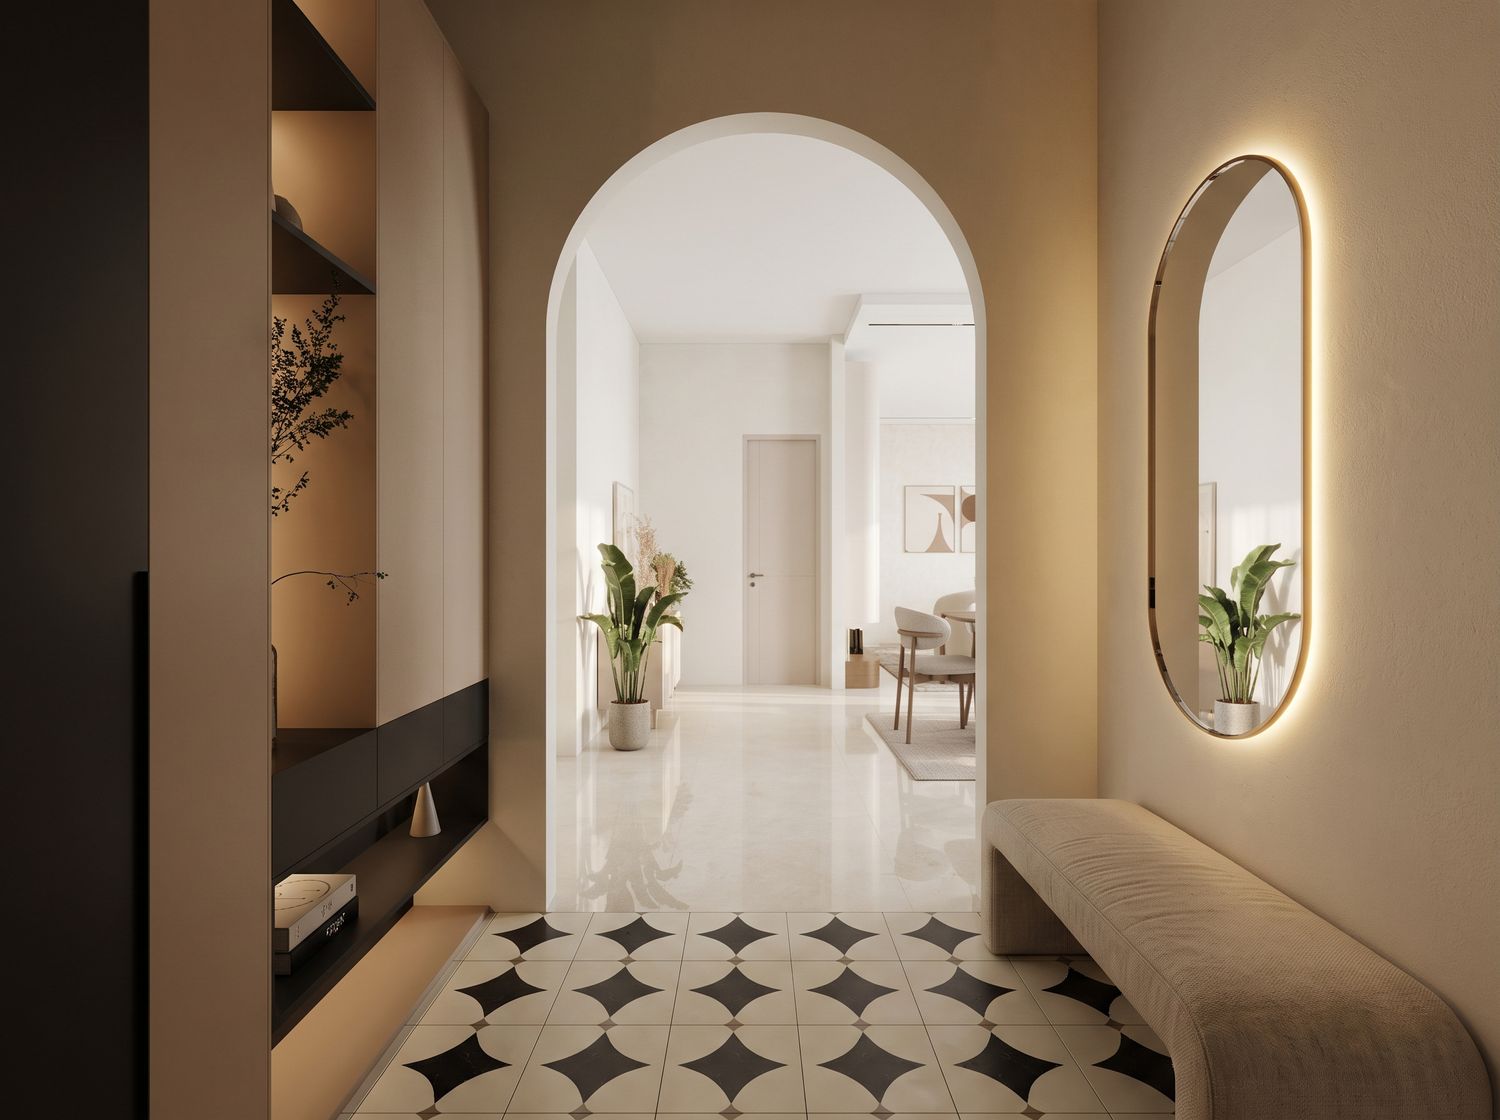
I created a dedicated entrance area from the terrace side and introduced an arch to visually separate the entrance from the living area without completely closing off the space. This maintains an open, spacious feeling throughout the apartment.
The entrance includes:
A wardrobe for coats, shoes, and everyday belongings.
A bench for comfortable seating while putting on or taking off shoes.
A mirror to make the entrance more practical and visually appealing.
The arch creates a welcoming transition into the main living area while preserving the sense of openness.
3. Open-Plan Kitchen and Living Area
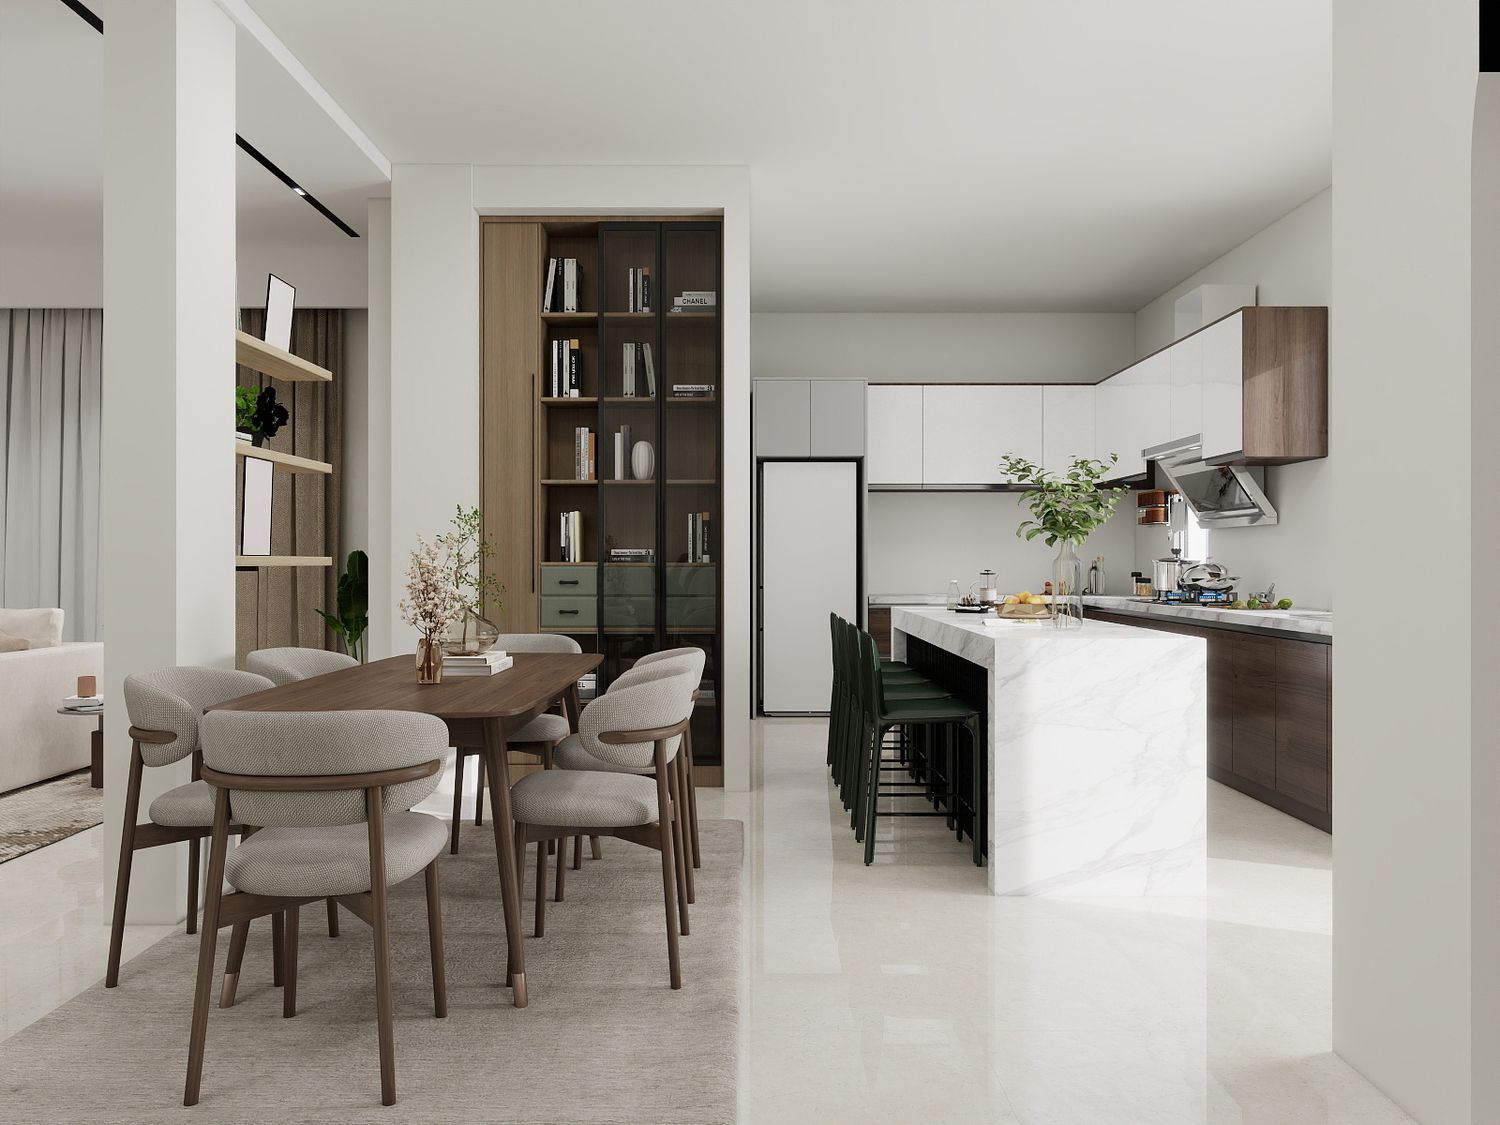
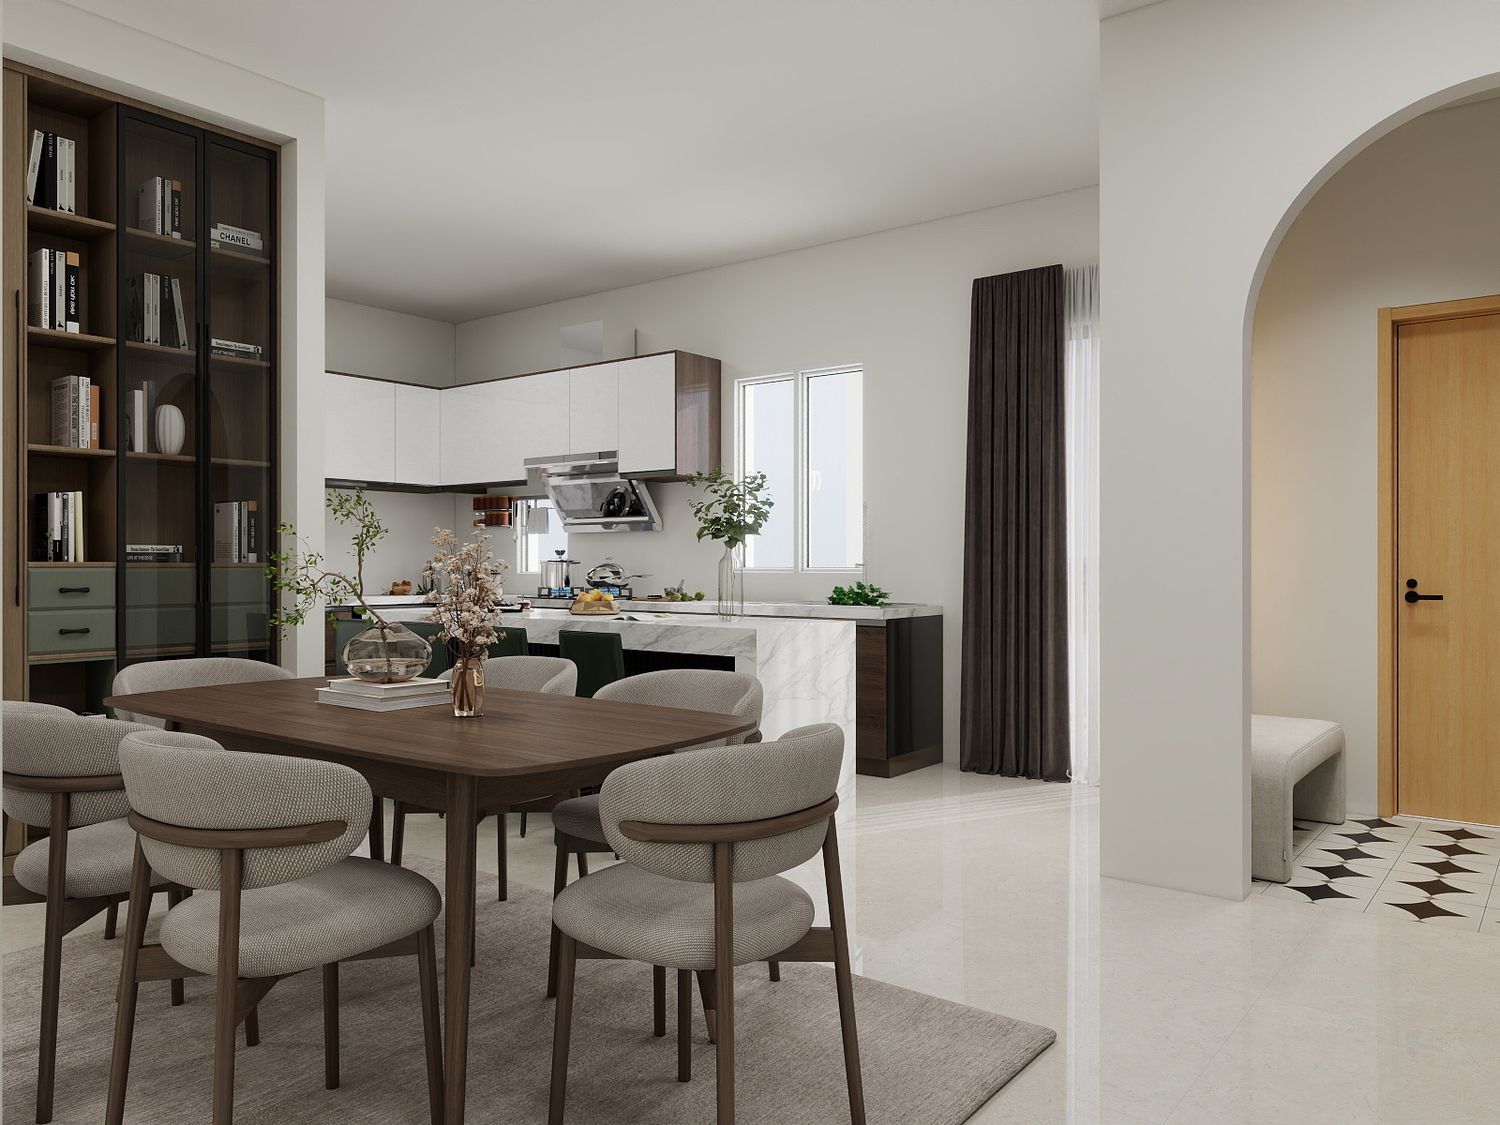
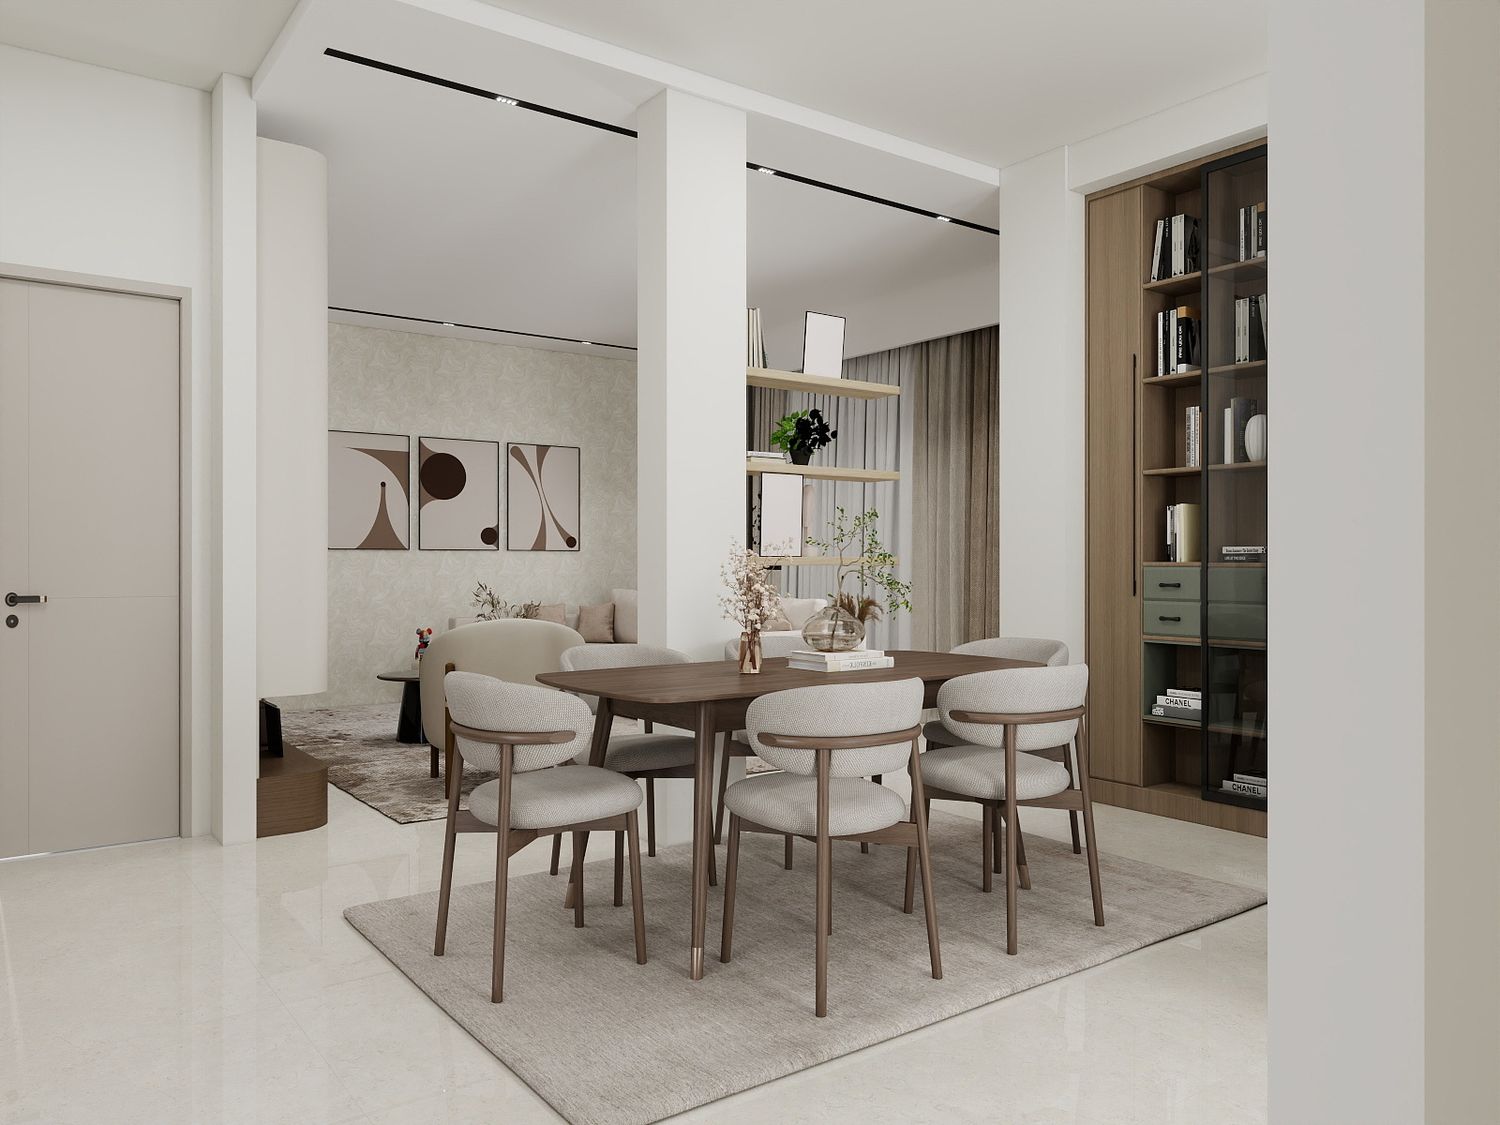
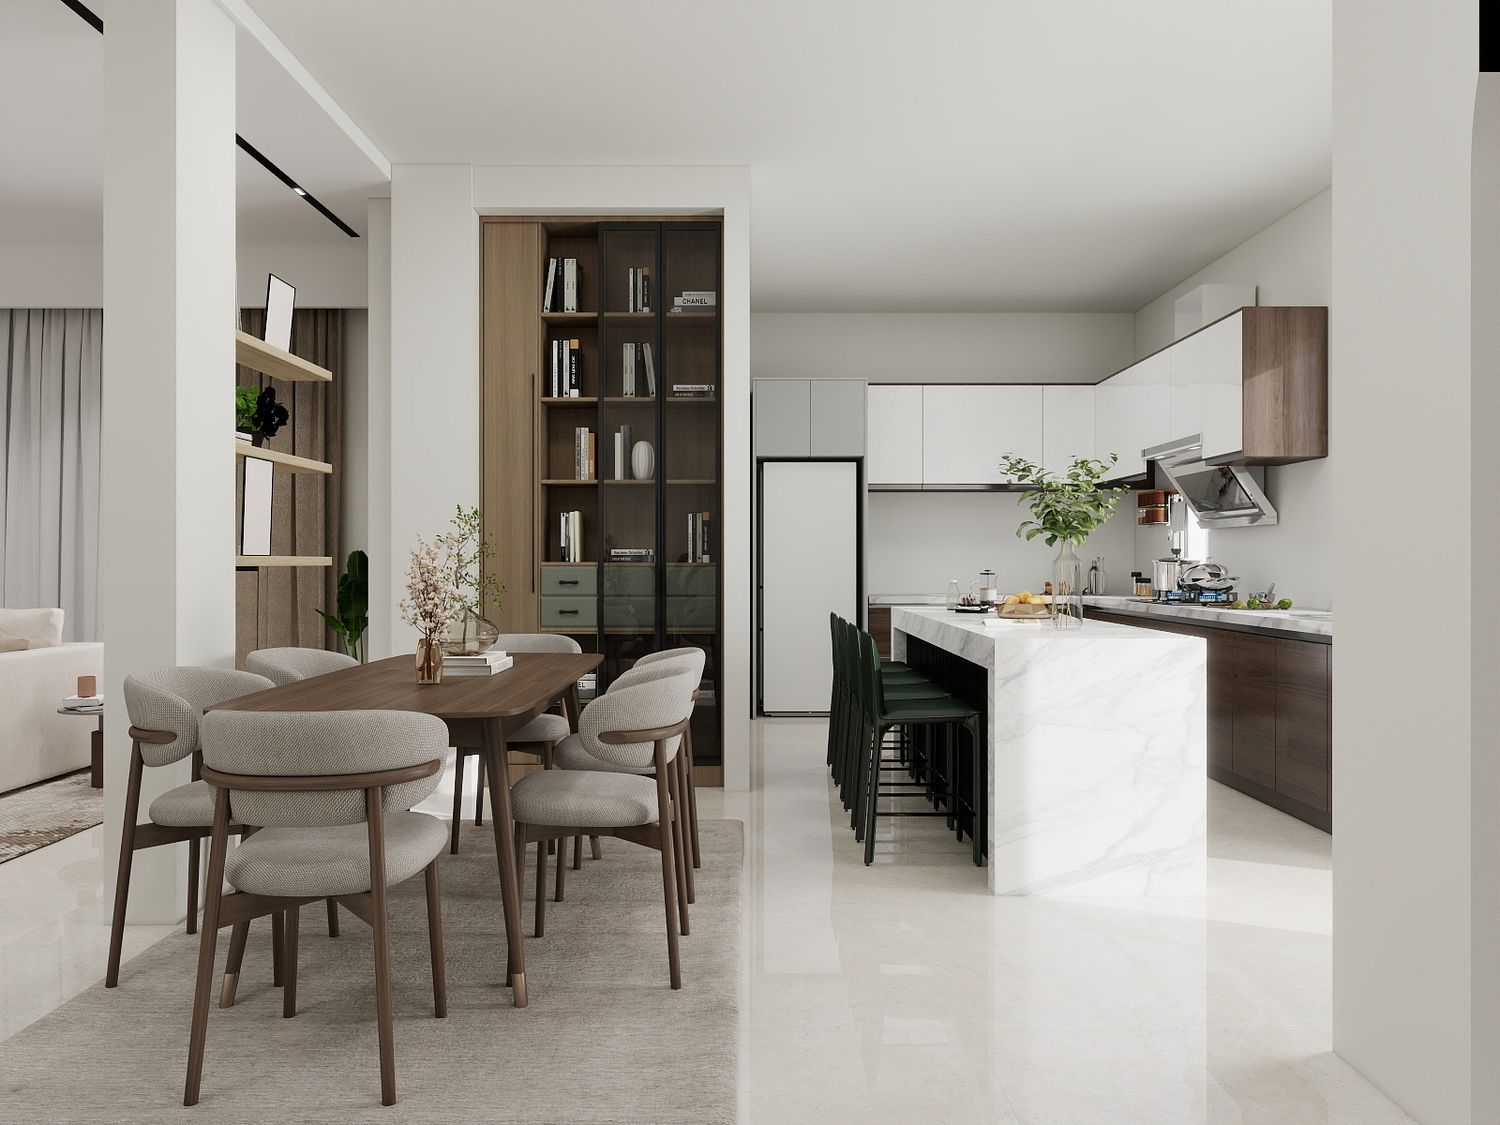
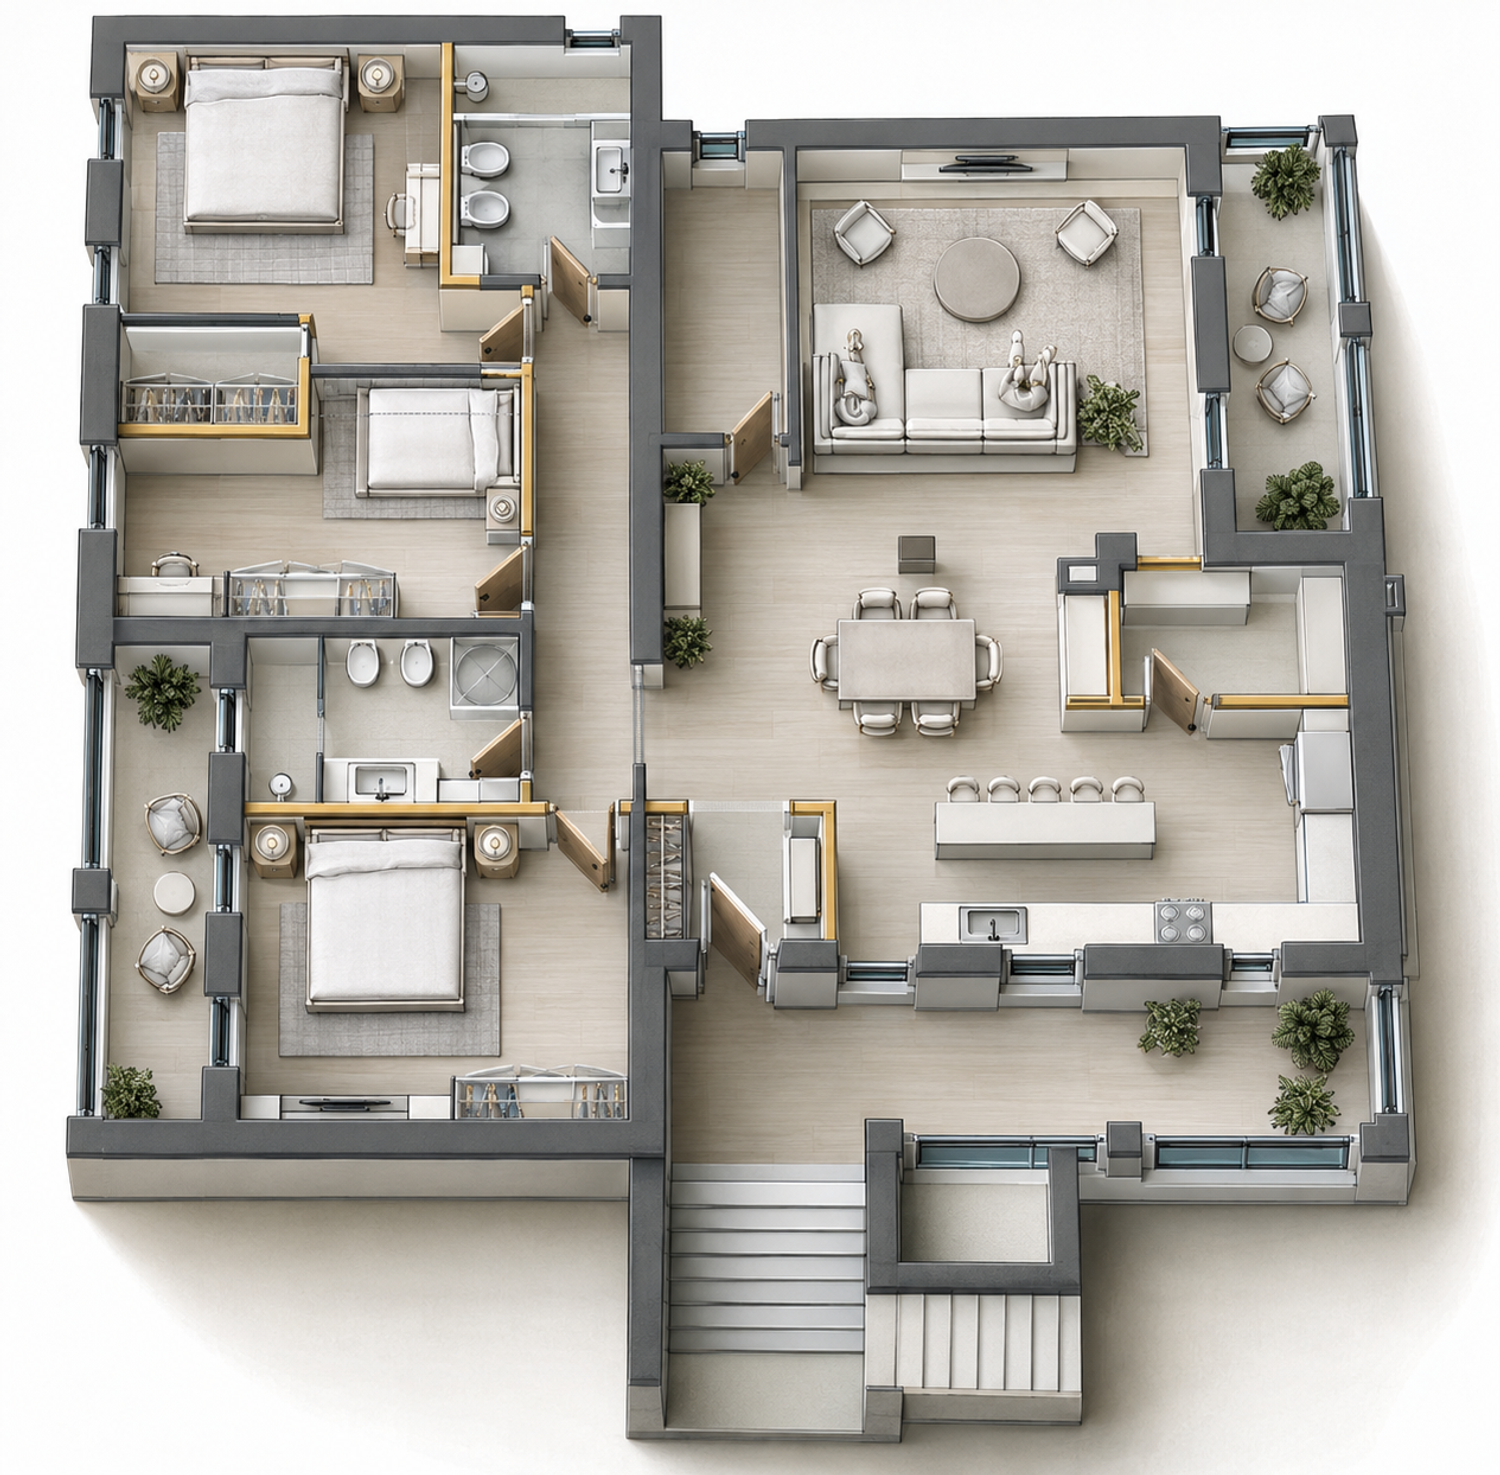
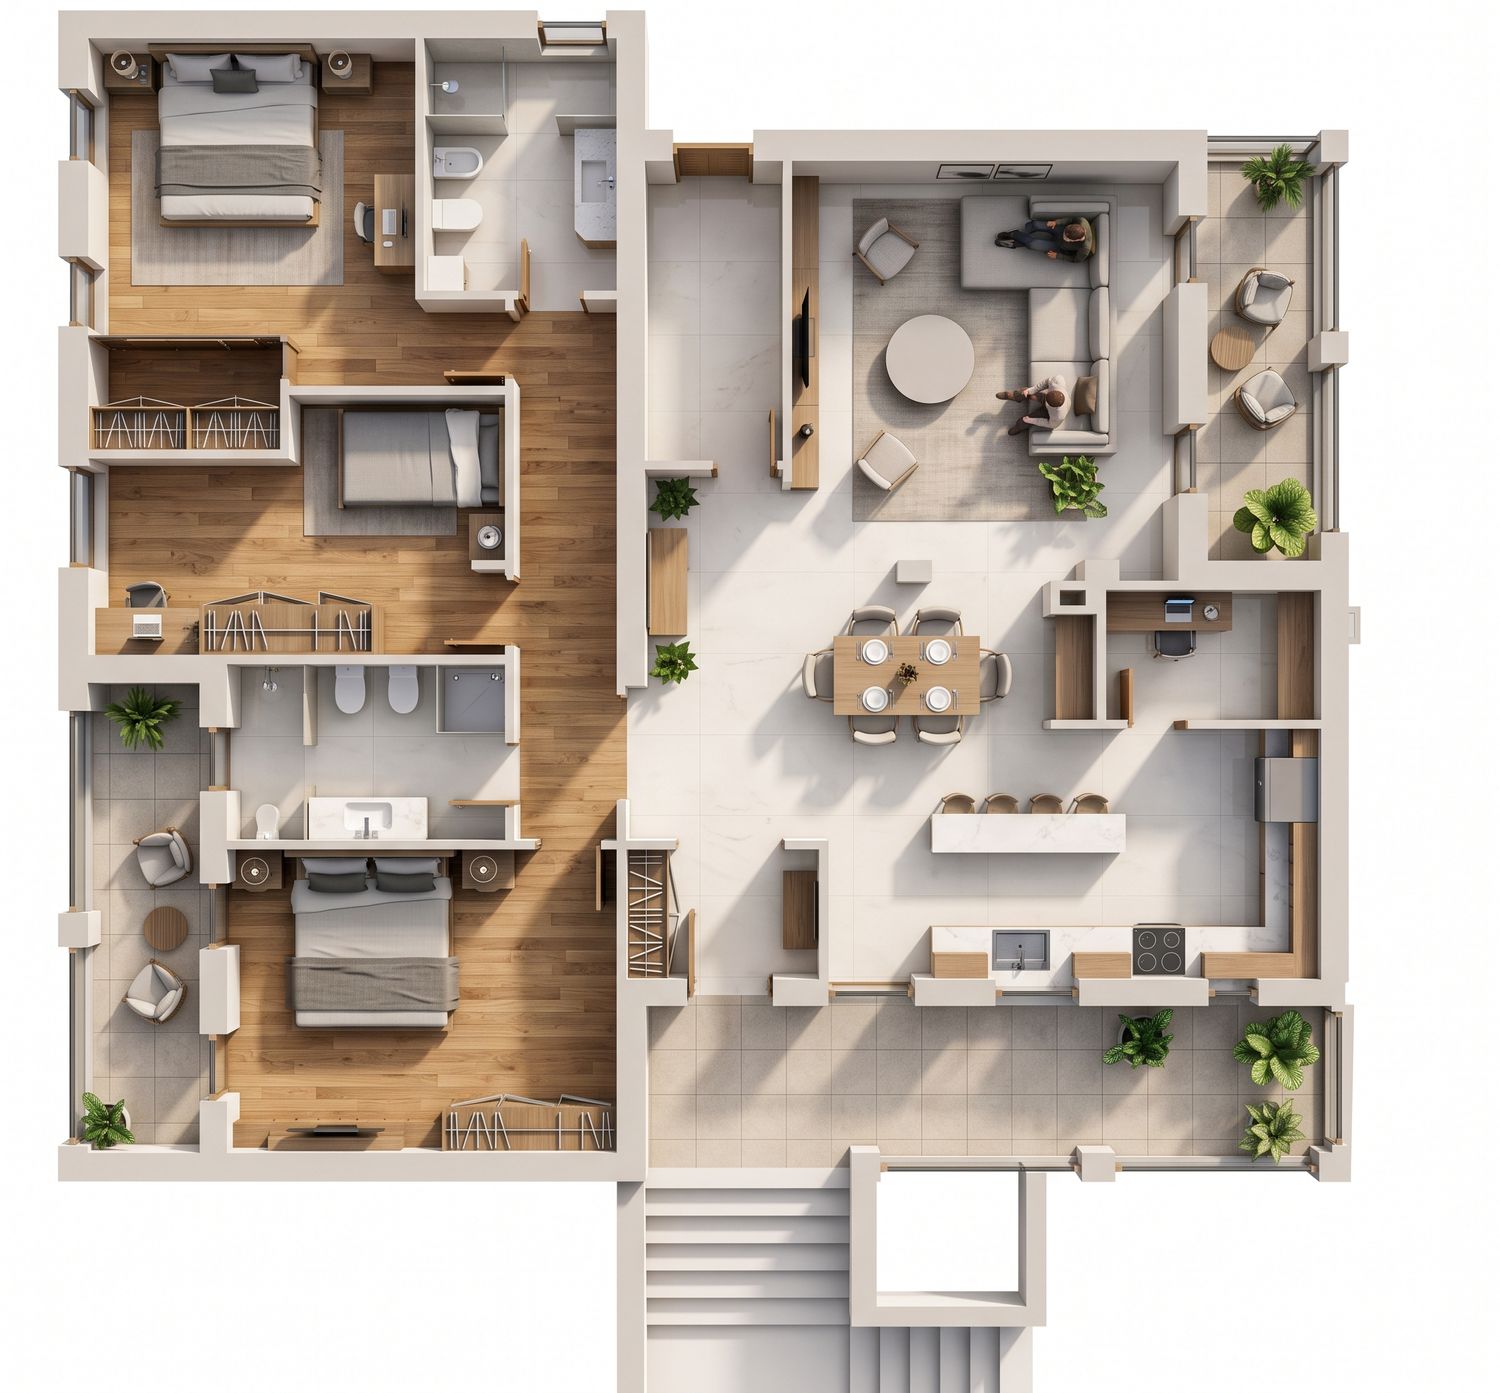
I designed an open-plan layout that combines the kitchen, dining area, and living room into one connected space.
Kitchen Layout
The kitchen follows an L-shaped layout and includes a pantry of a good size to accommodate groceries, kitchen appliances, and other household items. This provides the separate storage space you requested without compromising the main kitchen layout.
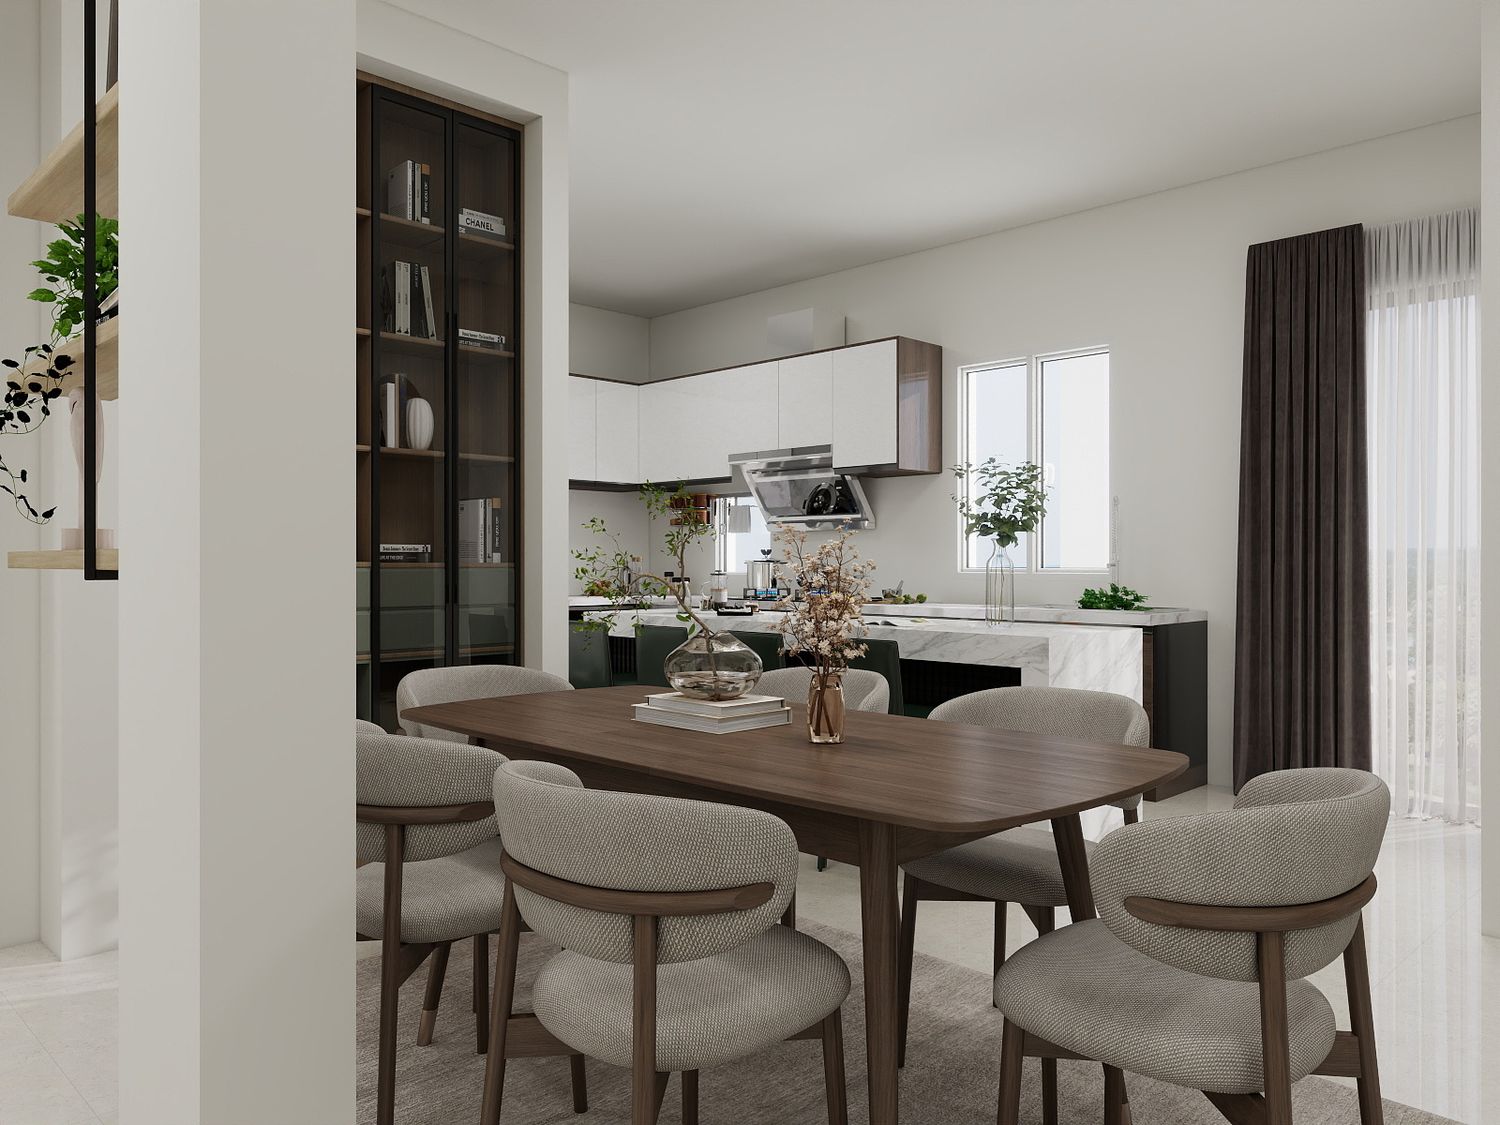
I also proposed a kitchen island, with the dining table positioned beside it to create a practical and sociable cooking and dining area.
Kitchen Windows and Terrace Access
I converted one of the existing terrace doors into a window, leaving two windows and one terrace door. My intention was to maintain natural light while allowing more flexibility in the kitchen layout.
Another possible option would be to replace the remaining terrace door with a window and use the entrance from the terrace as the main access point. This would give you more flexibility when arranging the kitchen. However, keeping one terrace door is also a reasonable option if you prefer direct access from the kitchen.
Dining Area and Display Niche
Beside the dining table, I included a niche that can be used to display and store plates, glasses, and other dining accessories. This adds both functionality and a decorative feature to the dining area.
Living Room and Existing Columns
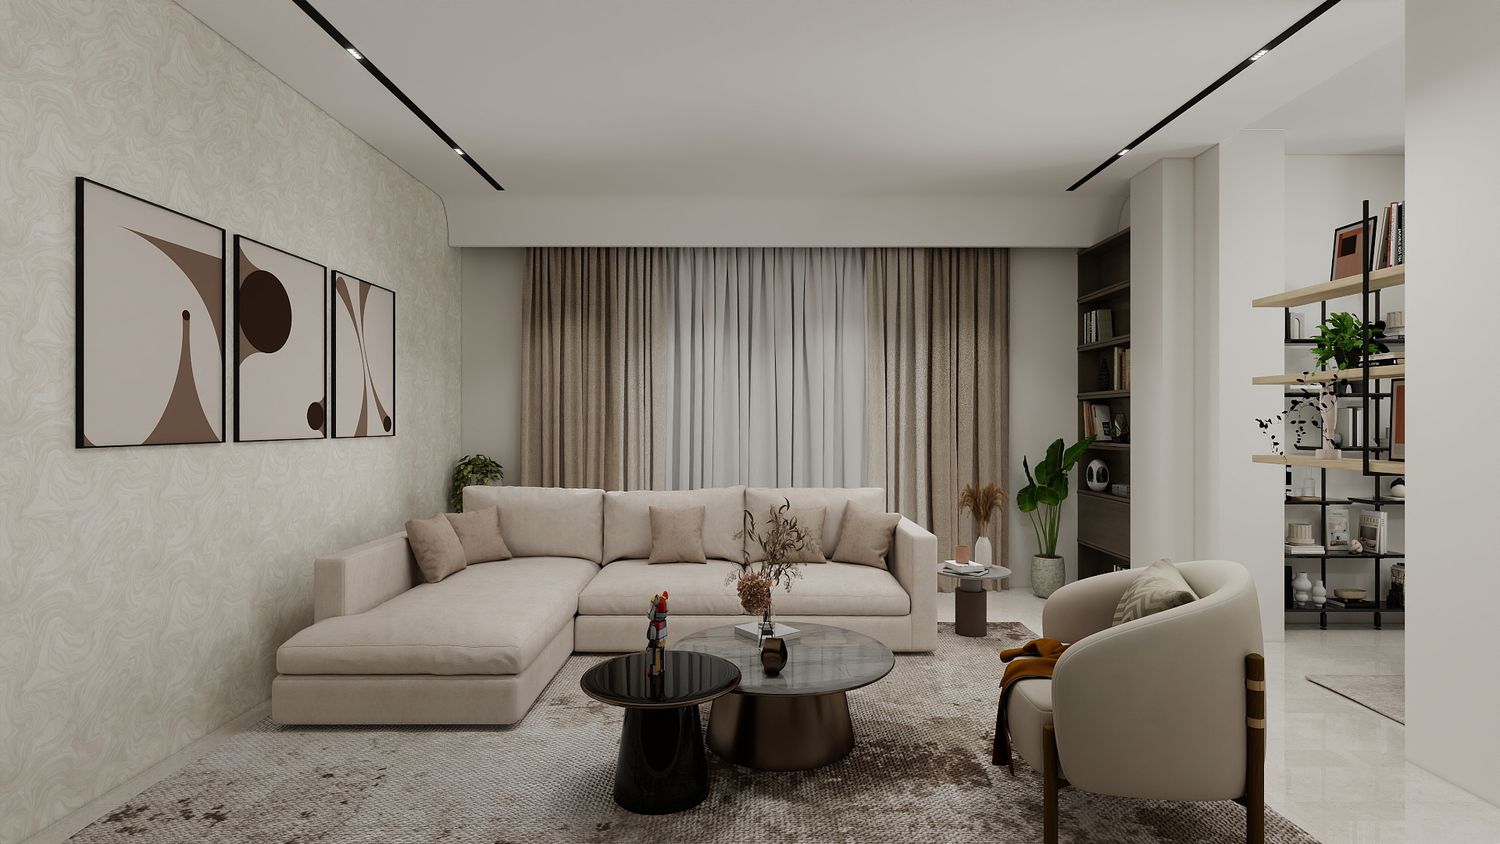
The two existing columns in the living room have been retained. Rather than attempting to remove them, I arranged the layout around them and kept the surrounding area as open as possible to maintain a spacious atmosphere.
4. Living Room Furniture Options
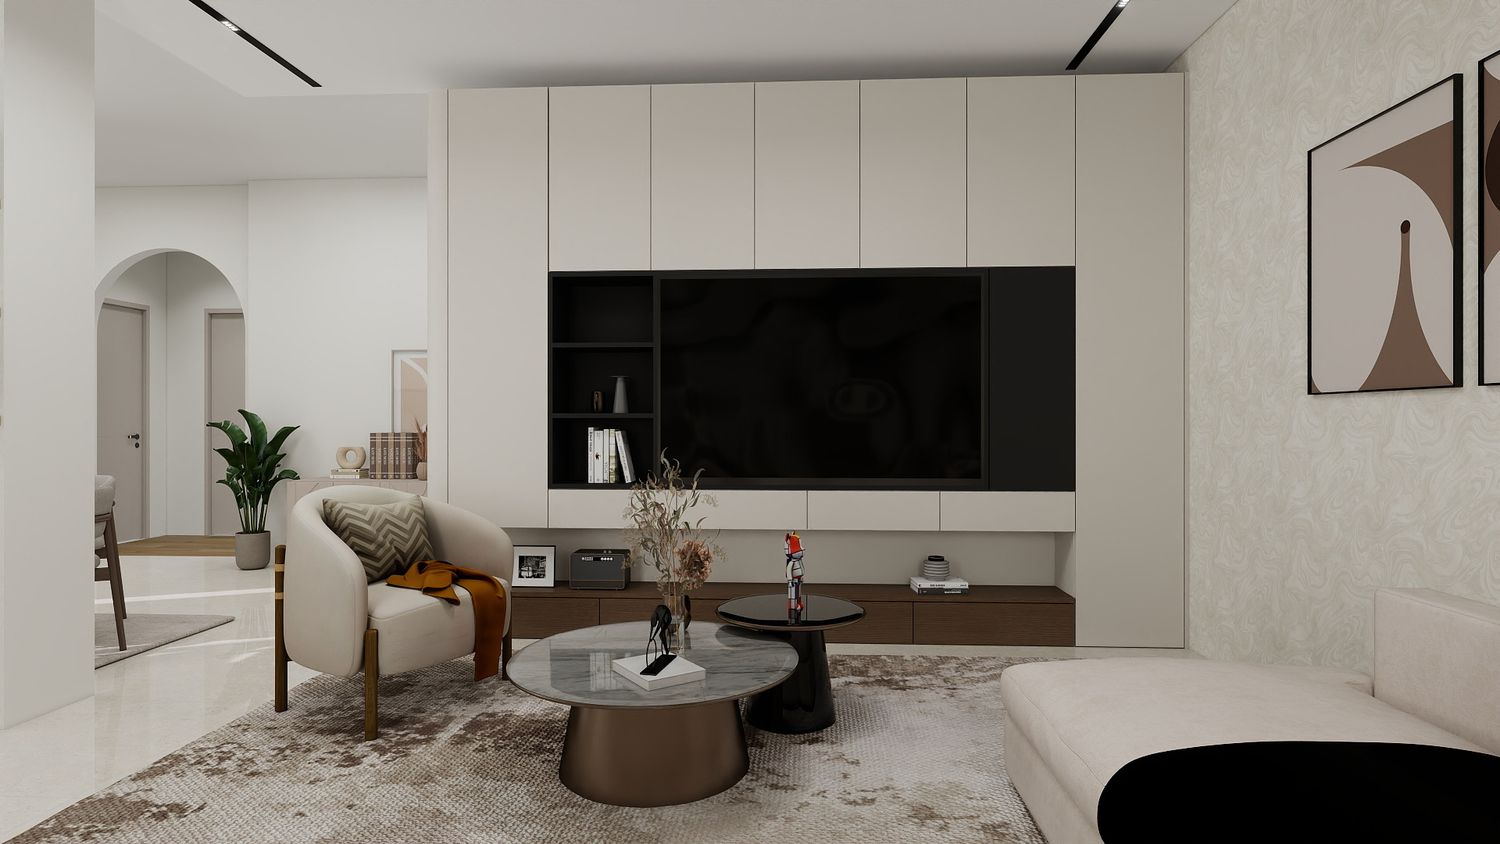
I prepared several furnishing options to help you compare different ways of arranging the living area.
Option 1: The sofa is aligned with the dining table, creating a more organized and visually connected layout.
Option 2: The sofa is positioned with its back toward the window and terrace door. I maintained a gap between the sofa and the openings to allow circulation and easy access to the windows and terrace door.
Both options aim to balance comfort, circulation, and the practical use of the available space.
I also designed a full-wall TV unit that provides generous storage opportunities around the television. The unit can accommodate decorative objects, books, and everyday belongings while creating a cohesive feature wall. Its design is intended to remain timeless and work well with different interior styles.
5. Bedroom Layouts
The bedroom layouts have been adjusted to accommodate the improved bathroom arrangements while maintaining comfortable sleeping and circulation spaces.
Since I wanted to enlarge the bathrooms without relocating the existing plumbing areas, I borrowed a small amount of space from the adjacent bedrooms.
Bedroom 1
This bedroom has been reduced slightly to accommodate the bathroom extension. However, it still provides sufficient space for a double bed and a functional bedroom arrangement.
Master Bedroom with Dressing Room
I proposed a master bedroom by reallocating some space from the neighboring room to create a separate dressing area. This arrangement provides a more private and organized sleeping space with additional wardrobe capacity.
I positioned this master bedroom at the end of the living area, where it benefits from access to a balcony.
Alternative Master Bedroom Location
If you would prefer the master bedroom to be the room overlooking the balcony, I also prepared a layout for that room with a double bed. This gives you the flexibility to choose which bedroom should serve as the master suite, depending on your preferences and how you intend to use the other bedrooms.